Junk modelling – create your own rocketship
What you’ll need Toilet paper rolls or kitchen towel tubes (for the rocket body) Cardboard […]
Read more

This is a great fine motor skills experience, developing strength in fingers and arms – essential for writing development. It is also a fun way to explore different tools for making marks, and a means of opening conversation around Springtime and Easter.
Prepare your craft area. Your paint will ideally be placed onto a plate or other shallow container, with enough space to dip the fork in and out.
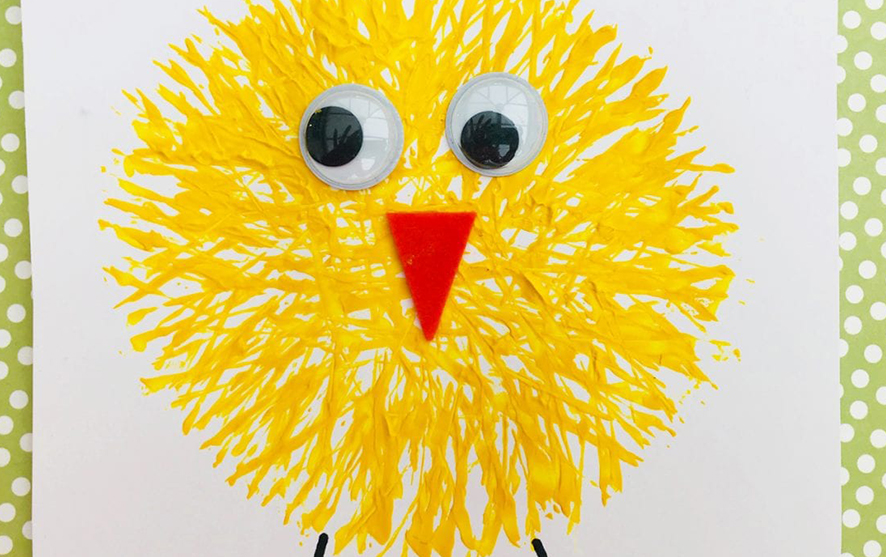
Demonstrate on your own piece of paper how you can use the fork to create paint marks. Aim to move your fork around in a circle, creating a circular shape of fork marks which will be the body of your chick. Once the paint has dried, you can use a marker to add legs, eyes, a beak and any other features! If you have any collage materials, cut out the shapes and glue them on instead.
Allow your child to explore. They may want to use the fork to experiment with different marks all over their paper, and this is fine – it is about the process rather than the final product. However, by showing them your completed chick and what it will look like, this may encourage them to have a go at making their own chick.
Talk with your child about chicks and the many other baby animals we see at Springtime. You could talk about Easter decorations and cards, and explain that these often contain chicks because lots of baby animals are born in Spring. You could even turn your chick creation into a Spring/Easter card to deliver or post to a neighbour or family member.