Tidying up the garden grass
What you need Child-friendly scissors Some outdoor space - garden, park or grassy area Benefits [...]
Read more


A fun science experiment, exploring shadows and the concept of dark and light. Your child can also discuss patterns, shapes, or even letters and other symbols they use. You also get to enjoy a fun shadow show as a family!
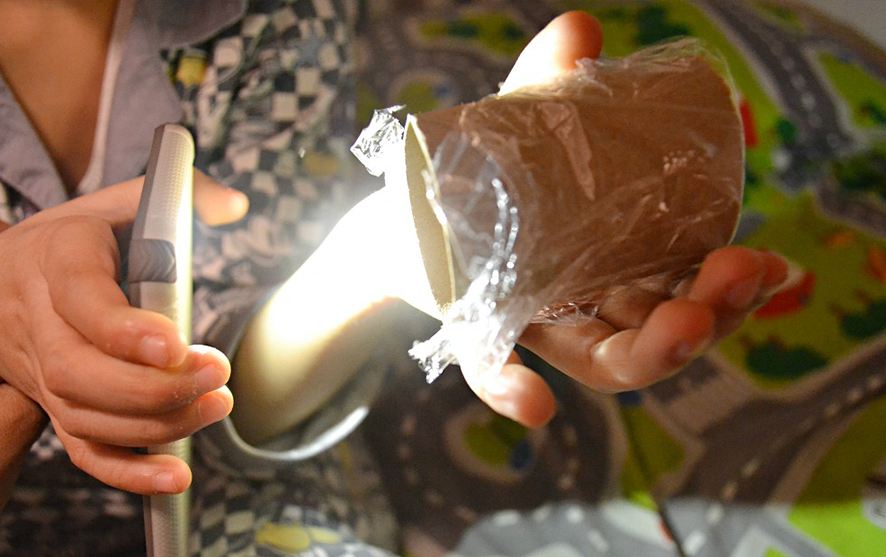
Firstly, you will need some small pieces of cling film, cut to size. These will need to be large enough to be wrapped over the top of the cardboard tube, so one of the circular ends is covered with a layer of film. Use a rubber band or tape to secure the cling film around the outside of the tube.
Using your marker, draw whatever you wish onto the cling film pieces. Your child may like to write symbols, letters, draw characters or create a pattern or shape. You can get involved and do some of your own too!
Once drawn, the cling film can be secured over the tube. Ensure the picture is placed over the circular end of the tube.
You will now be ready to begin your light show. You will need a room that can be made a little dark and with a ceiling, wall or floor that will be easy to see your images on – ideally a plain, light-coloured surface. Use your torch to shine through the tube, holding the torch at the open end so it will shine down and through the cling film end. This will then cause the image to be seen on the surface you are projecting onto. Experiment at creating your own light show!